
The Fields tab decides what your popup asks, where the answers go and what a shopper gets after they submit. Keep it short. Every extra field costs you signups, so only ask for what you will actually use.
Plan your screens
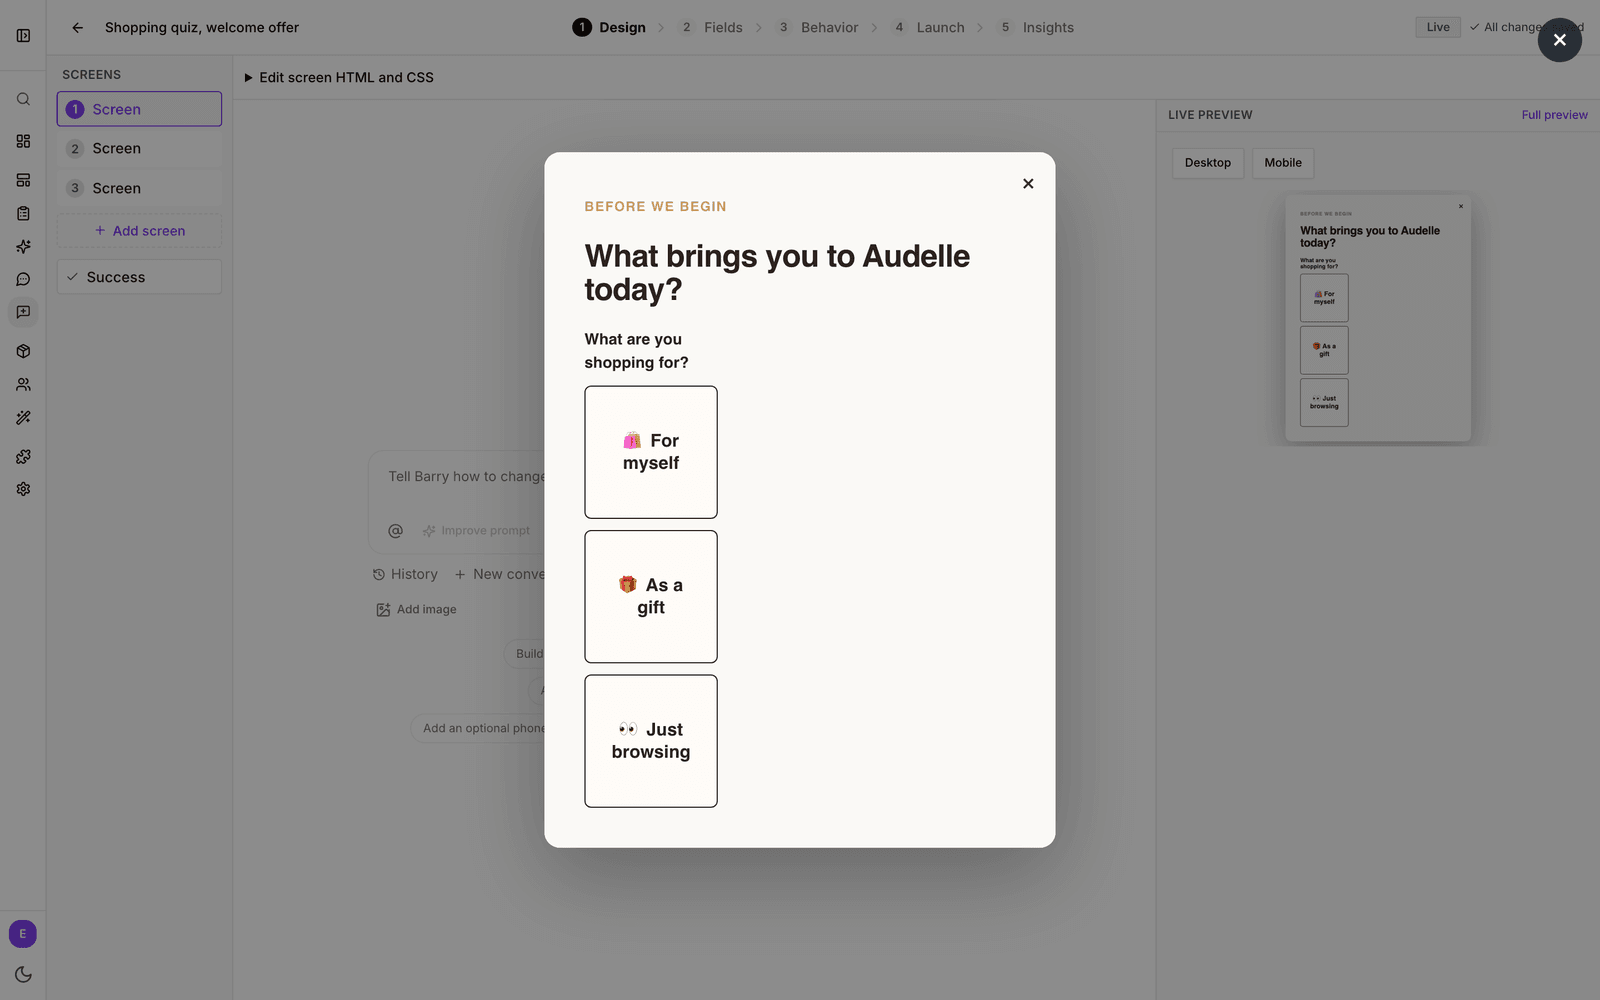
A popup can have one screen or several. Starting with one easy question, such as "What are you shopping for?", and asking for the email on the next screen often feels lighter to a shopper than one long form. Each screen has its own fields.
- Use the Screens list on the left to pick a screen. Click Add screen for a new one. Hover over a screen to move it up or down, or delete it.
- Choice buttons move the shopper on to the next screen as soon as they tap an answer, so a question screen needs no extra click.
- From the second screen on, you can switch on Optional screen. Shoppers can skip it, and its fields are never required. This suits a phone number that is nice to have.
Add fields
- Open the Fields tab and select a screen in the Screens list.
- Click Add field and pick a field type.
- Click the field's label to rewrite the question shoppers see.
- Click Required or Optional to switch between the two. Drag the handle on the left to reorder fields.
- Click the gear icon for more settings (see below).
| Field | Use it for |
|---|---|
| The shopper's email address. | |
| Choice buttons | One answer from big, tappable buttons. Moves on automatically. |
| Full name | One combined name field. |
| First and last name | Given and family name as two fields. |
| Phone | A phone number for text messages or sales follow-up. |
| Text | A short free-text answer. |
| Long text | A longer answer over several lines. |
| Multiple choice | Several answers from a list. |
| Number | A number, with an optional minimum and maximum. |
| Dropdown | One answer from a menu. |
| Radio group | One answer from a visible list. |
| Checkbox | A simple yes or no preference. |
| Marketing consent | Permission to send marketing email. See below. |
Email is optional. A screen without fields works as an announcement or a link.
Field settings
- Screen moves the field to another screen.
- Placeholder is the example text inside an empty box.
- Property key is where the answer is saved on the shopper's profile (see the next section).
- Helper text is a short hint under the field.
- Min length and Max length (text fields), Min value and Max value (number fields) set limits.
- Options (choice fields) holds the answers. Each option has a label shoppers see and a value that is stored, so you can reword a label later without breaking your segments.
Where answers land
When a shopper submits, bluebarry saves every answer on their profile under the field's Property key. Email, phone and name fill in the profile's contact details. Say you ask "What are you shopping for?" with the property key shopping_for: a shopper who taps "Skincare" gets shopping_for set to their answer. You can then build a segment of everyone who is shopping for skincare, and the property syncs to your connected email tool.
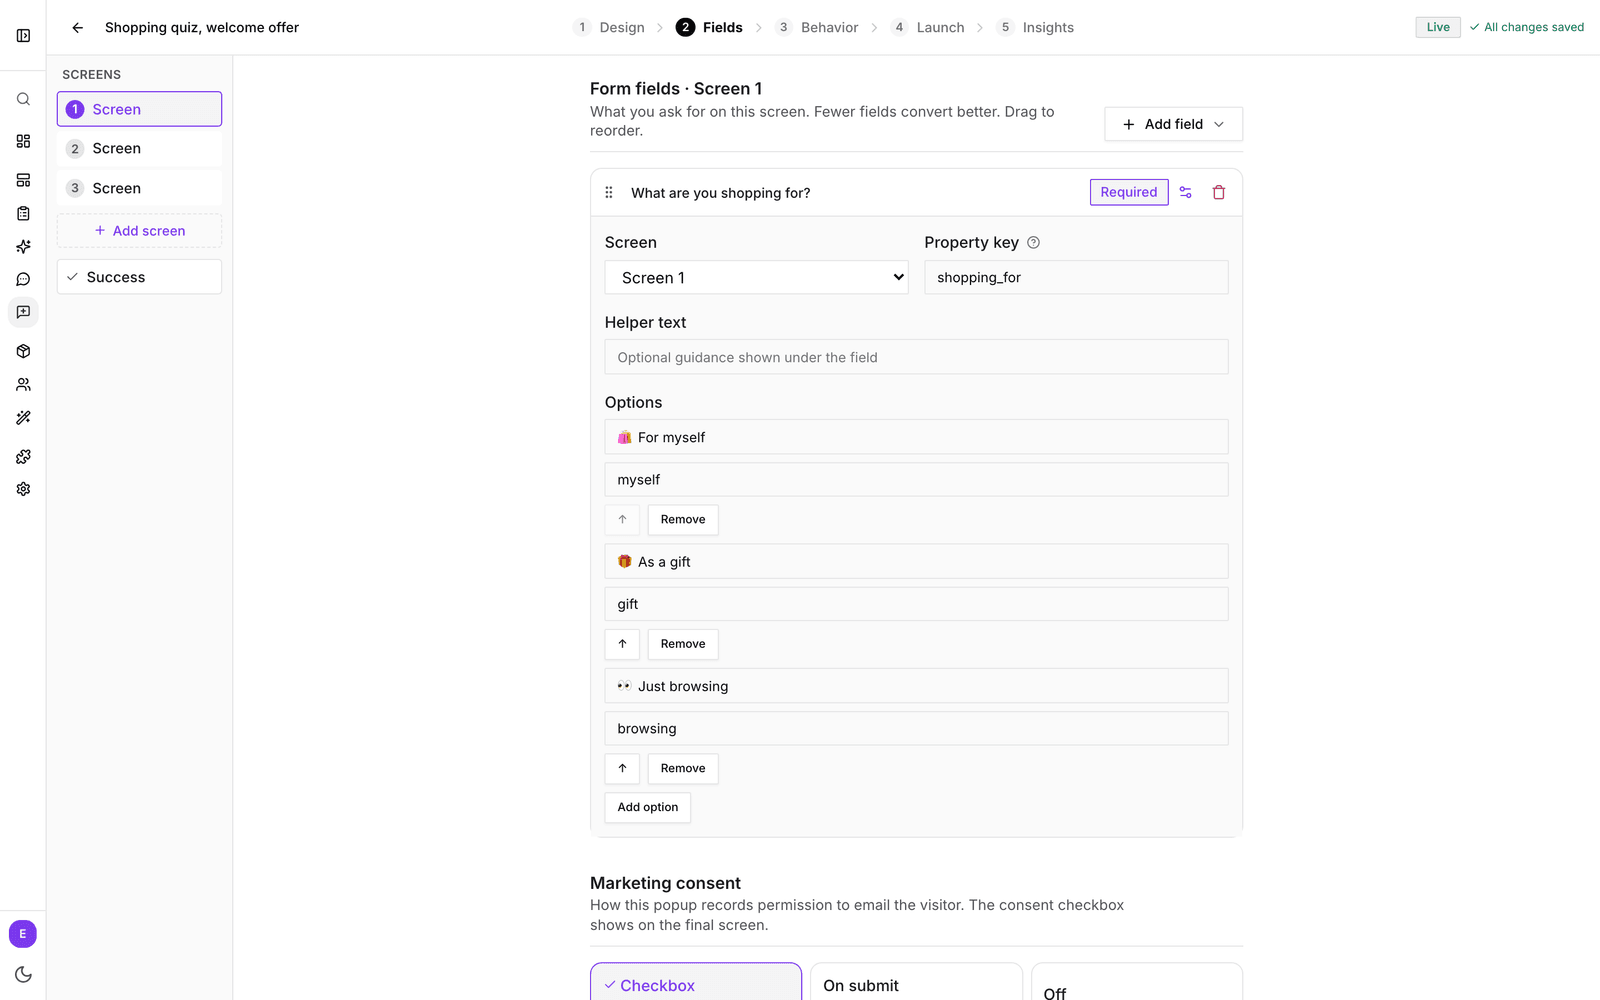
Property keys use lowercase letters, numbers and underscores. Once a segment or an integration relies on a key, keep it the same. If you change it, new answers are saved under the new key, and anything that reads the old one stops seeing them.
The success screen
After the last screen, shoppers see the success screen. Click Success at the bottom of the Screens list to work on it. It has no fields: change its look and copy on the Design tab. A popup that collects nothing has no success screen, because there is nothing to submit.
Want to send shoppers somewhere after they sign up, such as a new collection? Put that link on the success screen, so their answers are submitted first.
Marketing consent
Under Marketing consent, choose how the popup records permission to email the shopper. Consent is added to the shopper's consent history, with the popup noted as the source.
- Checkbox adds a required consent checkbox directly above the final submit button. Write its wording in Consent text.
- On submit means submitting the form counts as consent. Write a short Consent note, shown beneath the submit button. You can't publish until the note is filled in.
- Off records no consent. Use it for a popup that only asks a question.
Which option is right depends on the rules where you sell. If you are unsure, the checkbox is the most explicit choice.
Give a discount after signup
Under Discount reward you choose between one code that everyone gets and a code of their own for every person who signs up.
One code for everyone
Enter a code in Discount code, for example WELCOME10. After a shopper submits, the success screen shows the code with a copy button. Create the code in your shop's discount settings first. bluebarry shows it to shoppers, but it does not create that discount for you.
A unique code per person
Switch on A unique code per person. You set the discount, and bluebarry creates a code in your store for each sign-up. Every code works once, so it cannot be passed around.
- Discount: a percentage, a fixed amount or free shipping.
- Valid for (days) and Minimum order: how long the code works and, if you want, the smallest order it counts for.
- Code starts with: the start of every code, for example WELCOME. bluebarry adds eight characters nobody can guess.
- Profile property: the name the code is saved under on the shopper's profile,
discount_codeunless you change it. Its last valid day is saved next to it asdiscount_code_expires. Both are sent to Klaviyo, Omnisend and Spotler, so your welcome email can show the code. - Show the code on screen: switch it off when the code should only arrive by email. The success screen then says the code is on its way to the inbox, so a made-up address gets nothing. You need an email that sends the code, and Studio warns you when no email tool is connected.
This works on Shopify, WooCommerce, CCV Shop and Magento. Studio tells you when your store cannot create codes yet and what to do about it. On Magento a cart takes one discount code: a shopper who entered a code of their own keeps that one and can swap it themselves. A free shipping code works there with shipping methods that follow Magento's own free shipping rules.
A shopper only sees a code once your store has created it, which takes a moment. If the store does not answer in time, the popup says the code is on its way by email, and bluebarry keeps trying in the background.
Put the code in the cart
Switch on Apply automatically and the code goes straight into the shopper's cart after they submit. The popup tells them it is waiting there. This works on Shopify, WooCommerce, CCV Shop and Magento. Where it cannot be applied, shoppers copy the code and enter it at checkout.
If you started from a template with an offer and haven't set up a discount yet, the Launch tab reminds you before you publish.