This guide will help you set up your Make.com account. Make is a powerful tool that helps you build integrations between bluebarry and 2500+ other applications.
Step 1: Create a Make.com account
If you don't have an account yet, you can use this link to set up a Make.com account. As we are a technology partner with Make.com, customers that come through us can get a discount on their Make account.
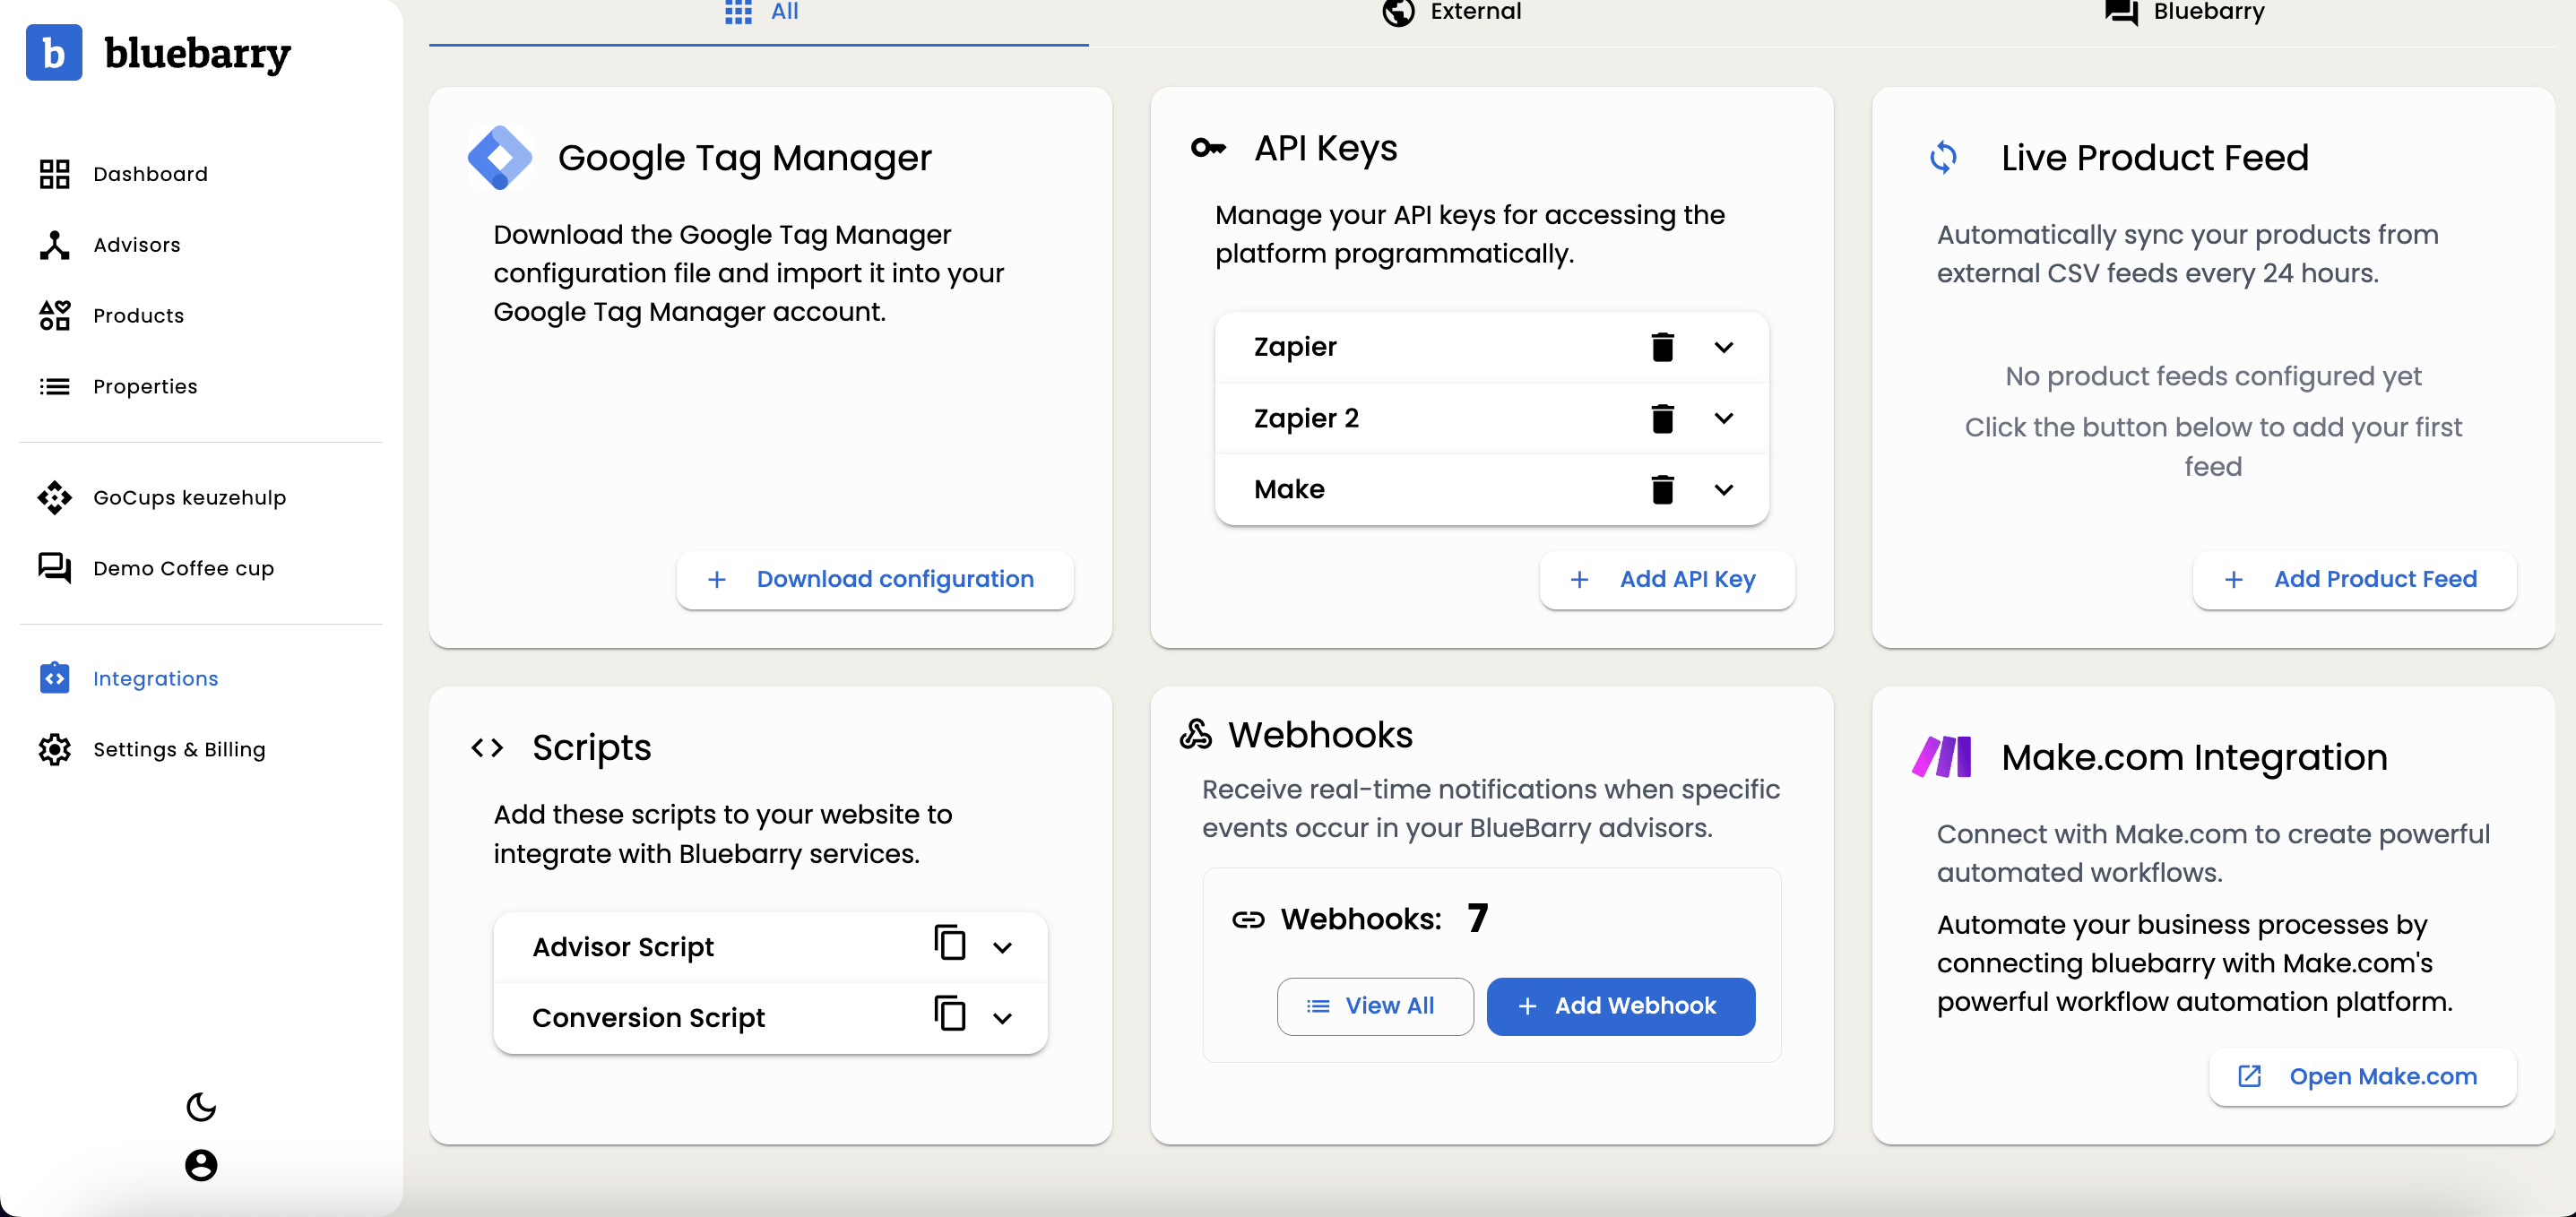
Or navigate to the integrations page on bluebarry and click on the Make.com integration.
Step 2: Connect bluebarry to Make.com
To set up your connection with bluebarry, you need to start building a "scenario". In Make.com, a "scenario" is an automated workflow between applications (similar to a "Zap" in Zapier). You only need to set up your connection with bluebarry once. Follow these steps:
1. Add bluebarry in your scenario step
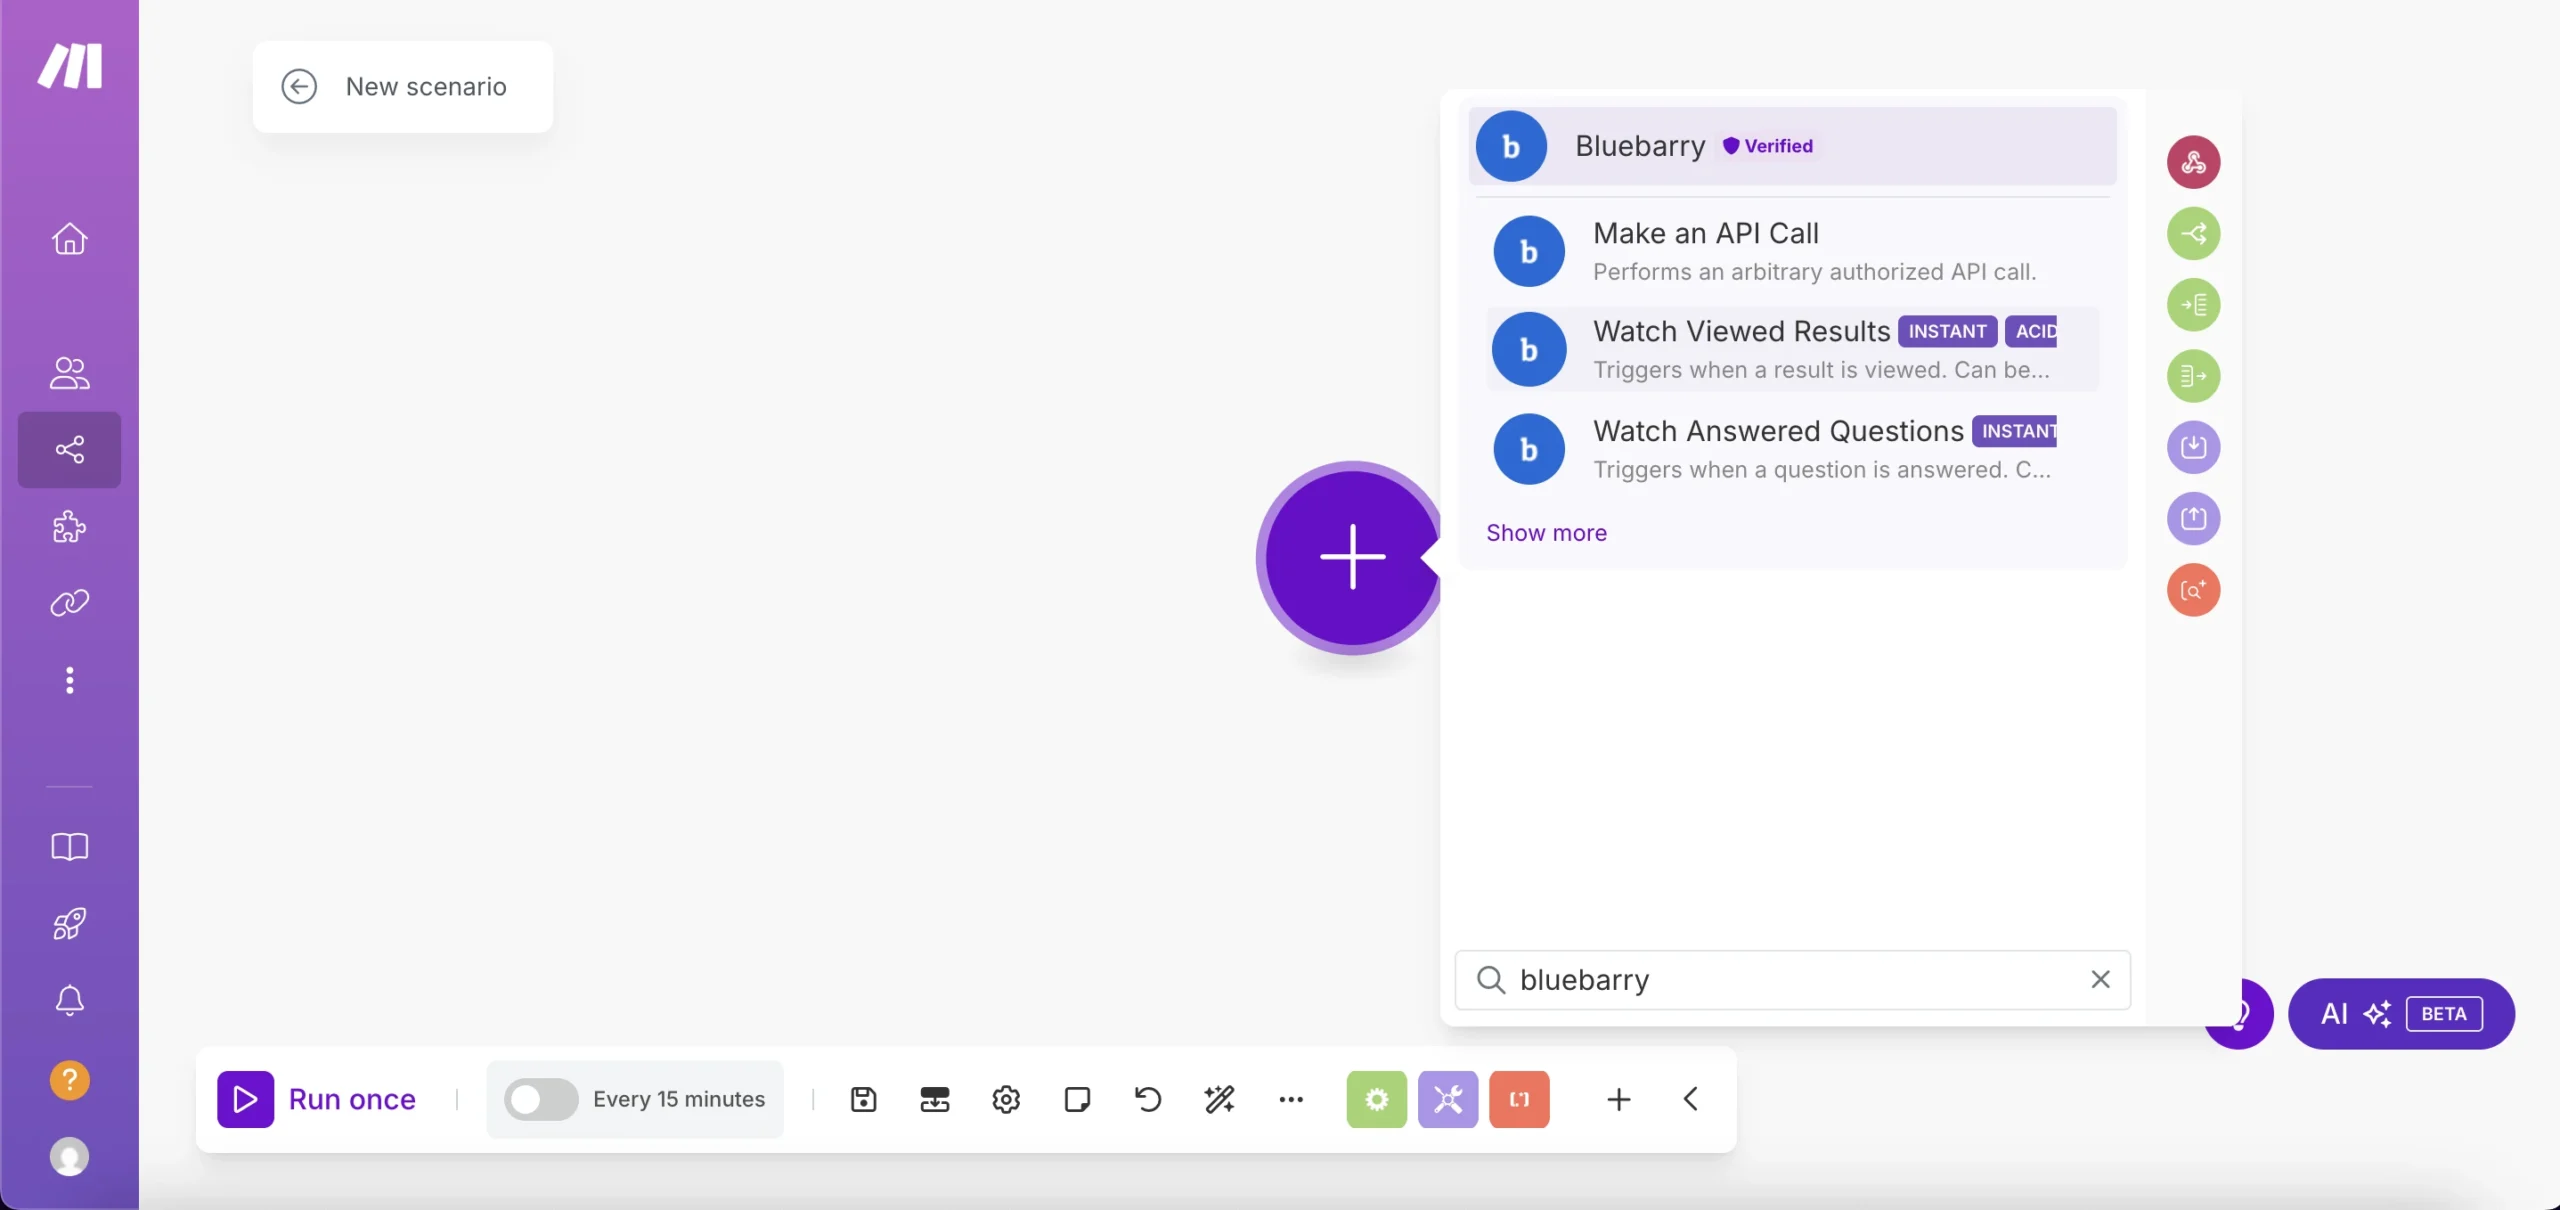
2. Choose one of the bluebarry triggers
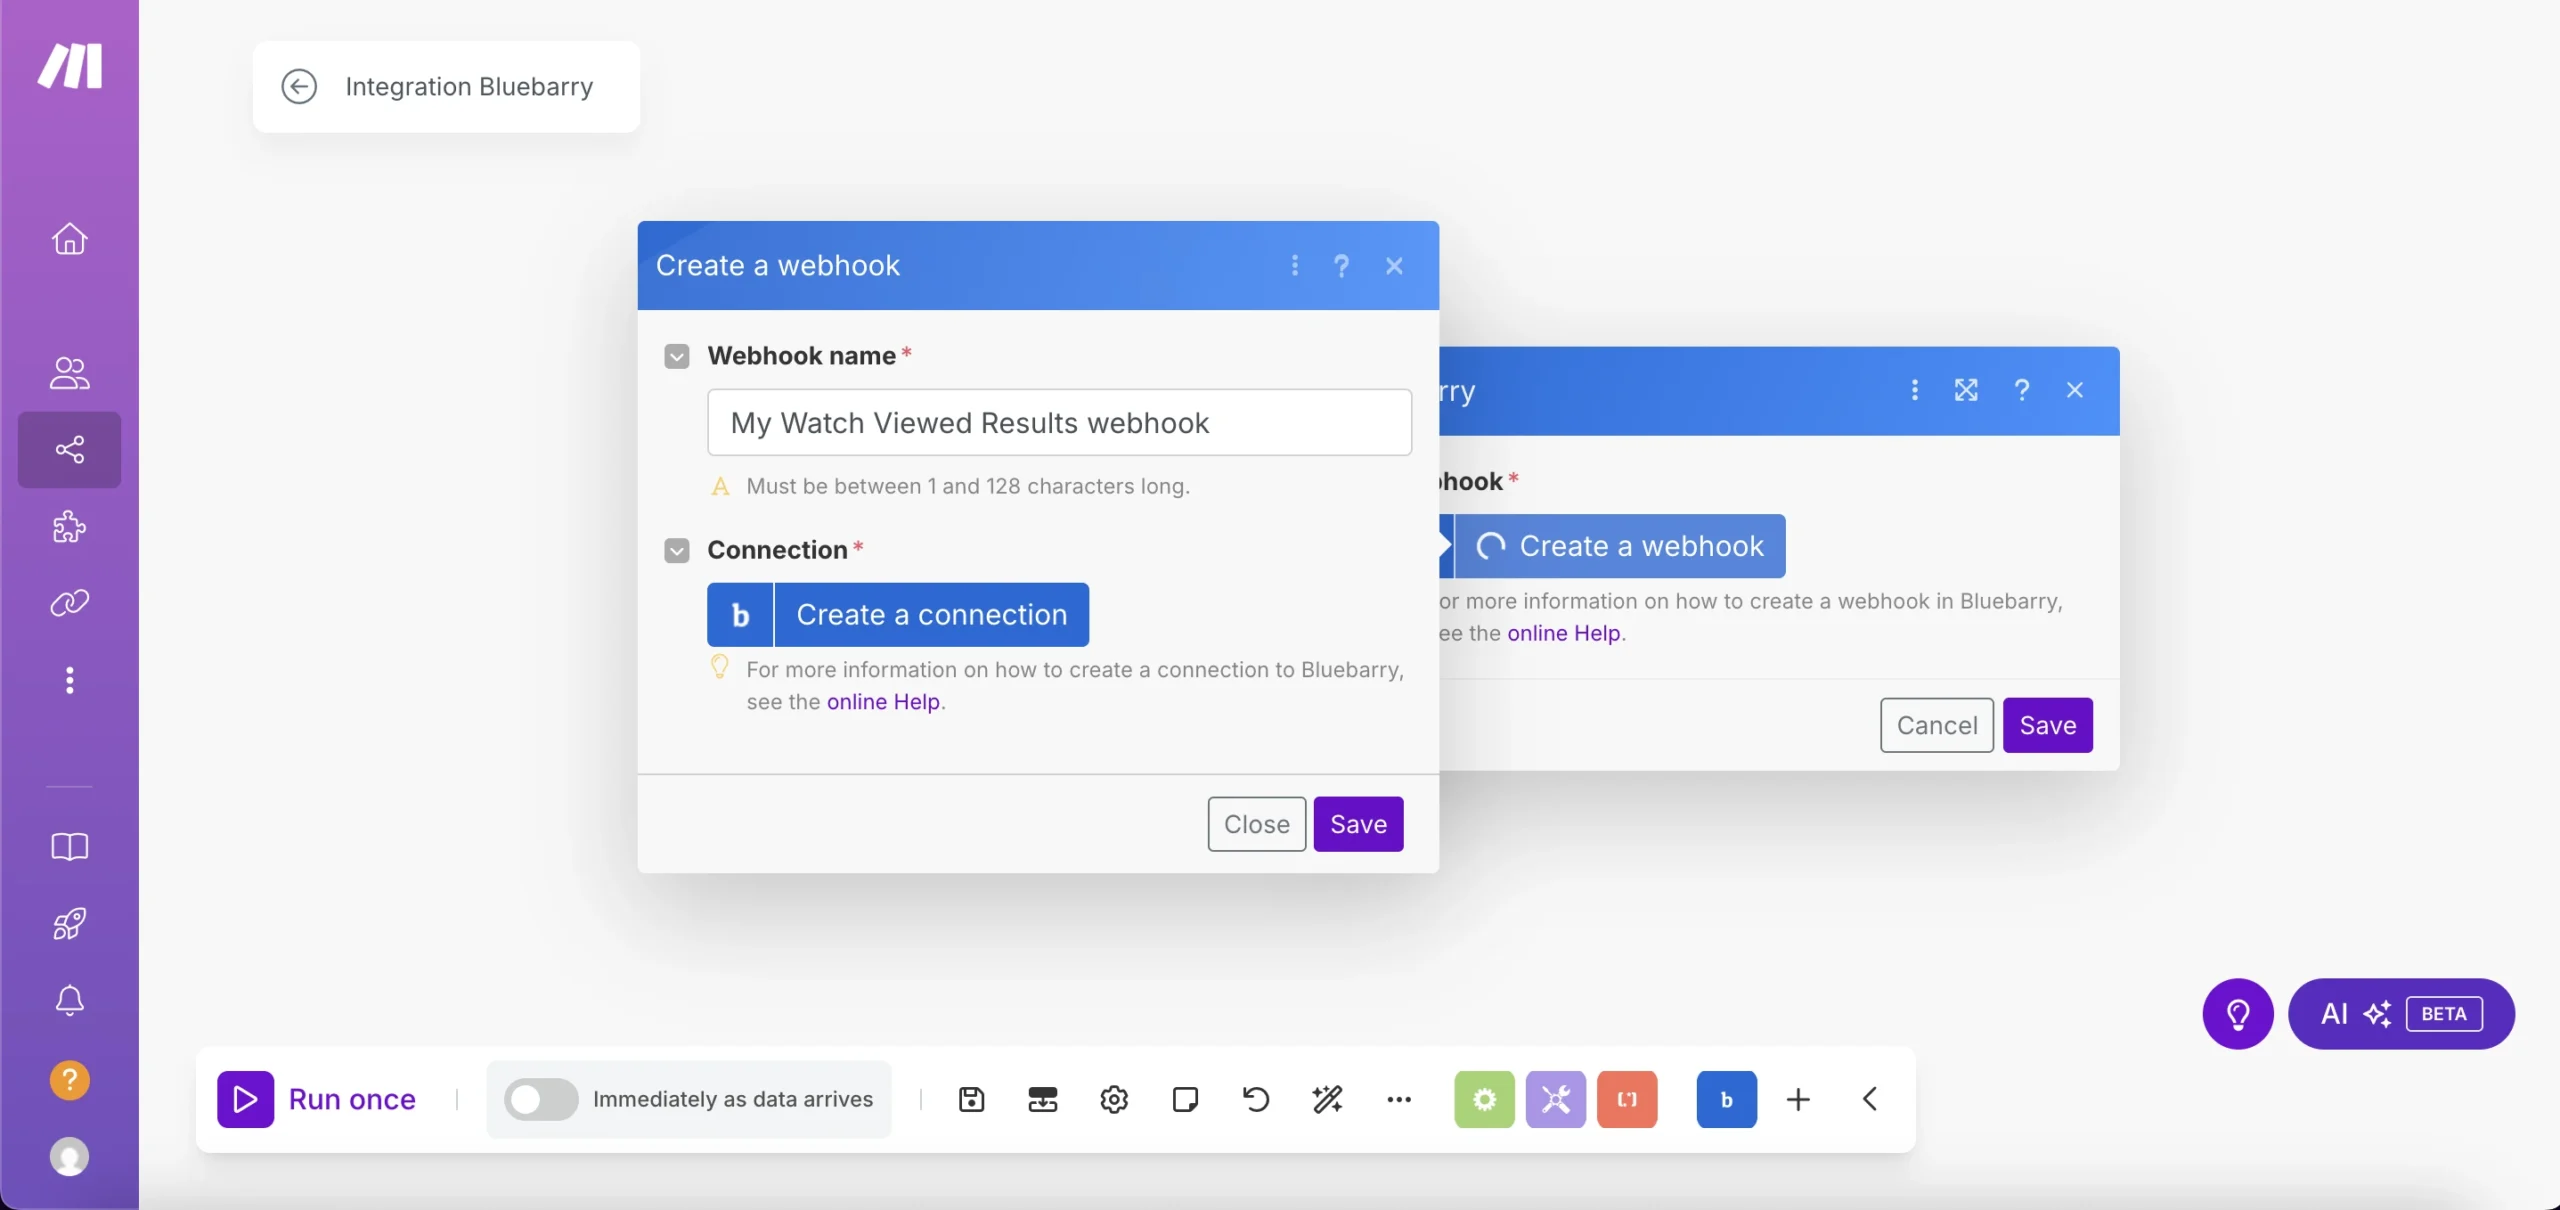
3. Click on "Create a webhook"
4. Click on "Create a connection"
5. Create an API key in bluebarry
You can find this on the "Integrations" page. Create an API key specifically for Make.com.
6. Give your connection a name in Make.com and add your API key
💡 Pro tip
Make sure to use a descriptive name for your connection so you can easily identify it later.
Step 3: Build your first scenario (flow)
Now you're ready to start building your first scenarios. Make sure to checkout all the pre-made templates we've built for you.
What can you build?
- Send quiz data to your CRM
- Create leads in HubSpot or Salesforce
- Add subscribers to your email lists
- Push data to Google Sheets for reporting
- Trigger Slack notifications when quizzes are completed
- Connect to any of Make.com's 2500+ apps
Available triggers
- Question Answered – Fires when someone answers a specific question
- Result Viewed – Fires when someone reaches the quiz results page
- Email Submitted – Fires when someone submits their email in the quiz